by C. Elkins, OK Math and Reading Lady
 As part of building a classroom community, you likely will have many discussions about diversity, friendship, and showing respect in various ways. Here are some great resources for literature that might emphasize the point you are trying to make.
Weareteachers.com 14 books with great follow-up ideas.
- This site is one of the best because it doesn’t just give a summary of the story, but it provides very practical follow up ideas include a get-to-know-you bingo, anchor charts, self-portrait, writing, posters, brainstorming, drawing, etc.
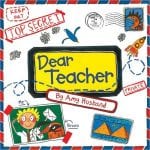
- For the above book, “Dear Teacher,” she suggests writing a postcard to a friend or family member telling them about the first week of school.
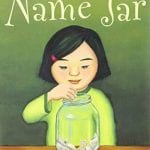
- For the book, “Name Jar,” the article suggests brainstorming and creating a poster showing different ways to greet a new student.
5 Back to School Books for 3rd Grade (Pinterest from notsowimpyteacher.com):
- There might be some new titles here that kids haven’t heard in previous years.
Back to school books for upper elementary (teachingtoinspire.com).
- This teacher provides some printables to accompany the books she recommends. These deal with more advanced issues such as kindness, diversity, perseverance, homework and writing.
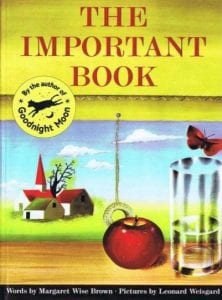
- One of the books she features is “The Important Book” by Margaret Wise Brown. It’s been around for awhile (for a good reason). A perfect book for getting kids to write details around one topic. This can actually be used any time of year – not just the beginning. For the schools I visit, I have a set of these books you may borrow. Or send me a message and I will send you more information about this book and its link to writing possibilities! Or, of course, I can help you do a lesson using these any time of the year.
Don’t have the books mentioned? Your school library might be able to get it from another library. Or – check youtube.com. Many books are shared this way!
Enjoy! And please share some other titles and/or beginning of school activities you love.
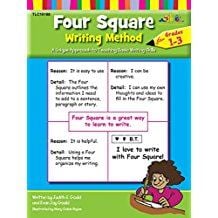
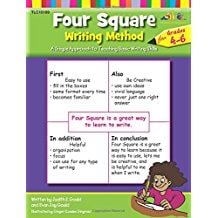
 The six traits are a tool for teaching writing, leading to a quality product. They are not an organizational model (such as Four Square). This model was originally developed by the Northwest Regional Educational Laboratory in Oregon. Here is a link to their website which includes more resources, definitions, and research: