by C. Elkins, OK Math and Reading Lady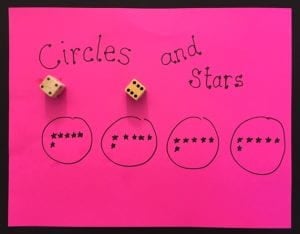
Thanks for checking in on another multiplication strategy! The focus for this post will be on the equal groups strategy — looking at how students can efficiently use this strategy to help learn basic multiplication facts. My angle will be at the conceptual level by using concrete and pictorial methods. Be sure to see the links at the end for books and my free equal groups story cards.
Basics:
- Instead of in array or area format, equal groups are separate groups.
- The “x” means “groups of.” So 3 x 4 means “3 groups of 4.”
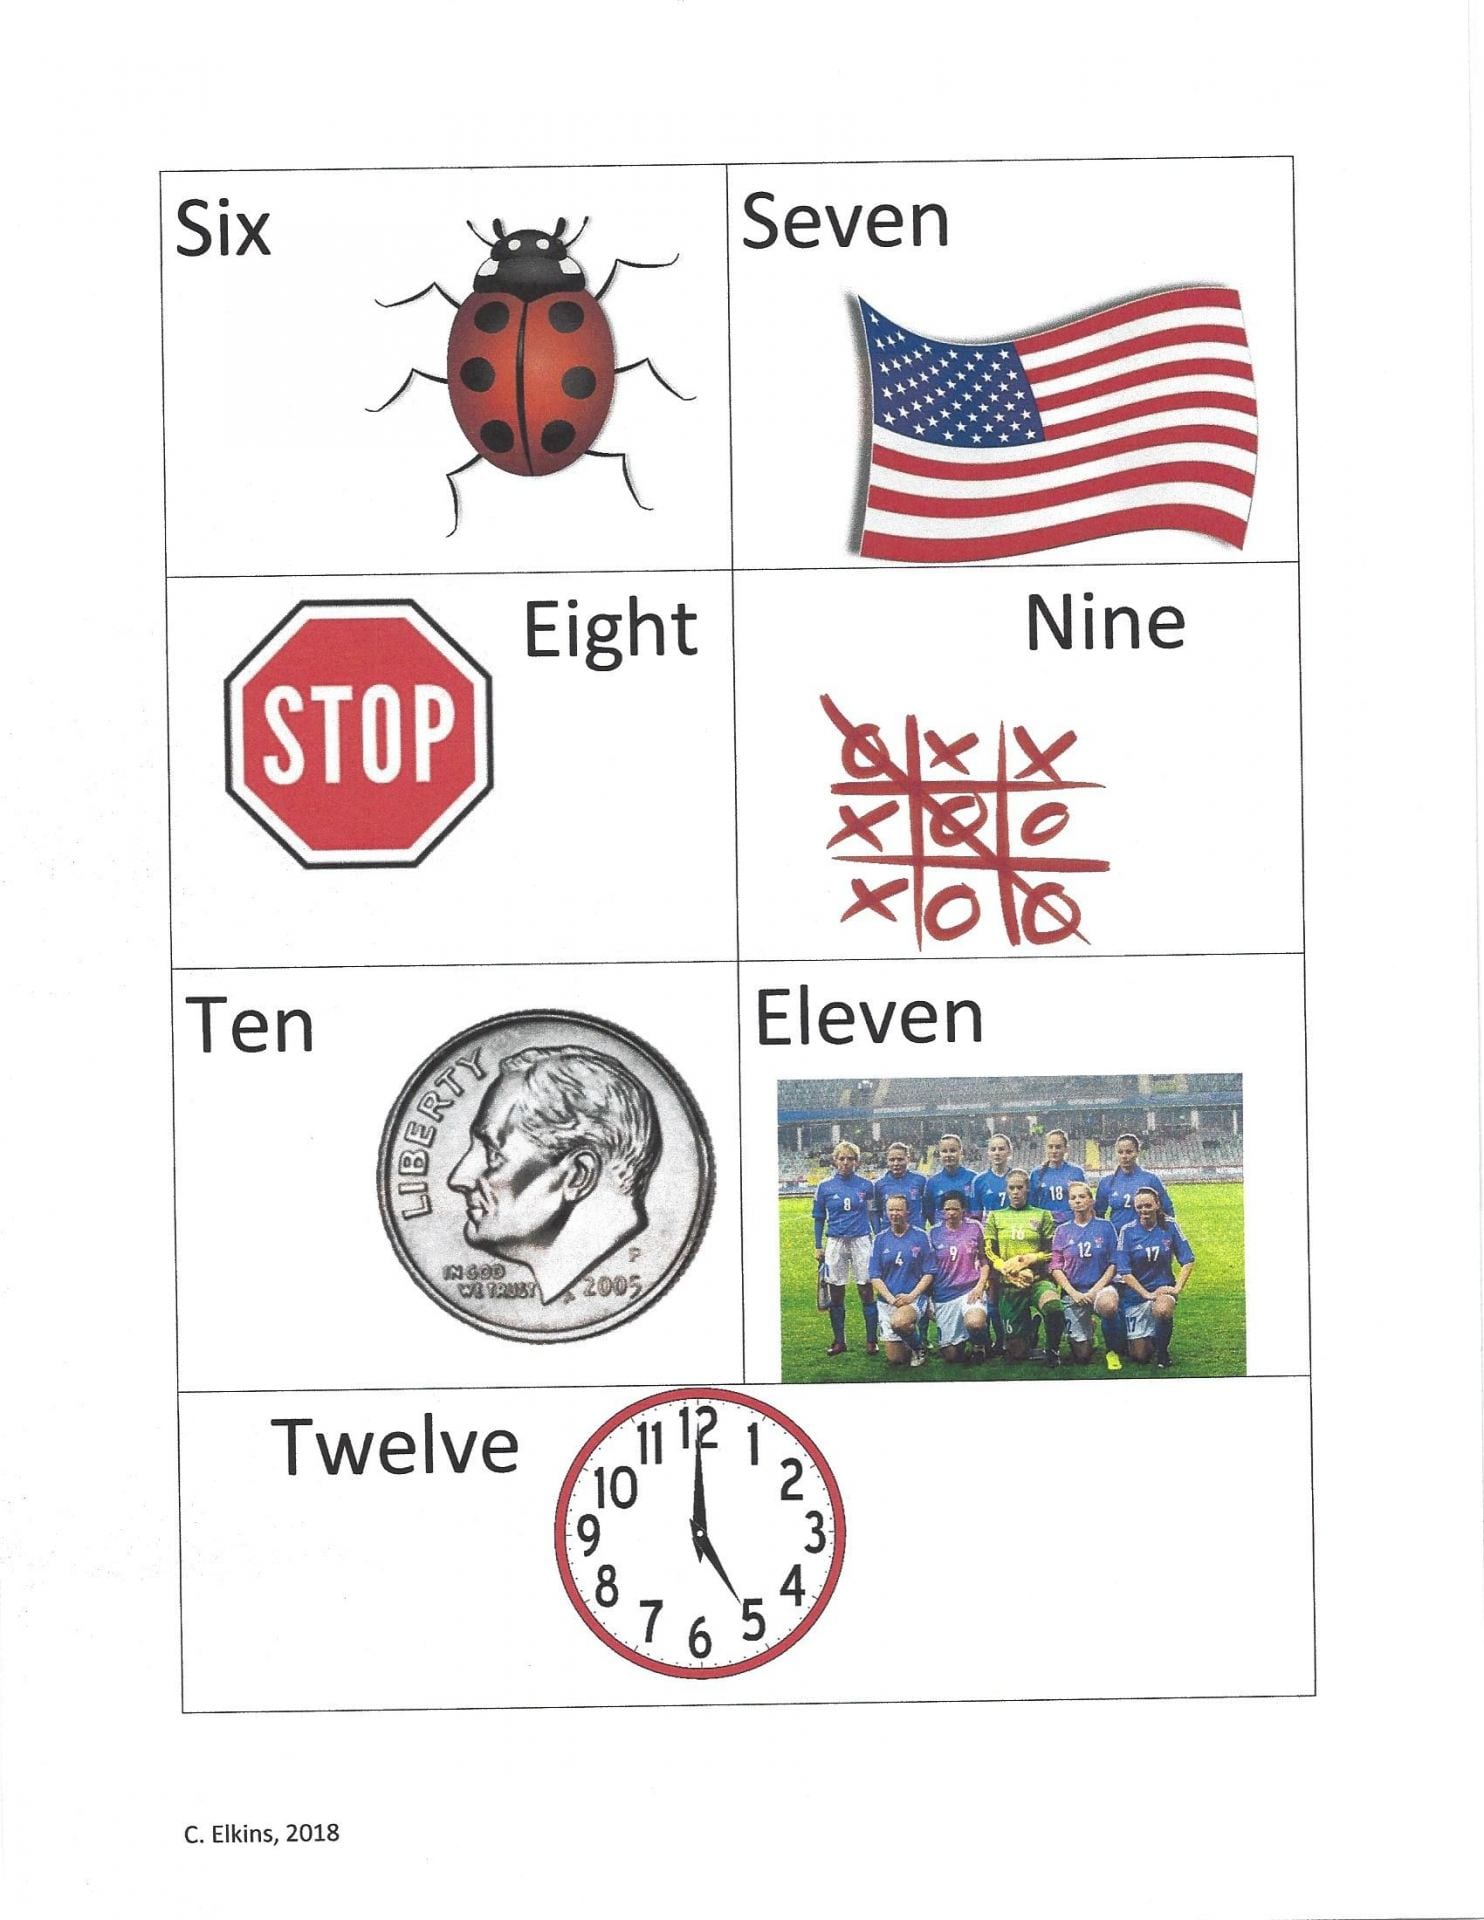
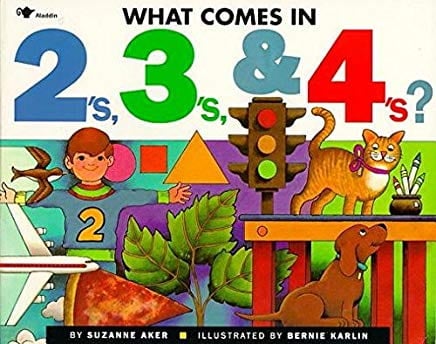
What things normally come in equal groups? Conduct a brainstorming session. I love the book “What Comes in 2’s, 3’s, and 4’s” as a springboard. After reading the book, let students brainstorm other things that come in equal groups. See the pictures below for some more ideas. After some internet research, I also made this attached list to use (in case you or your students draw a blank): click here: Equal groups pictures and list template![]()

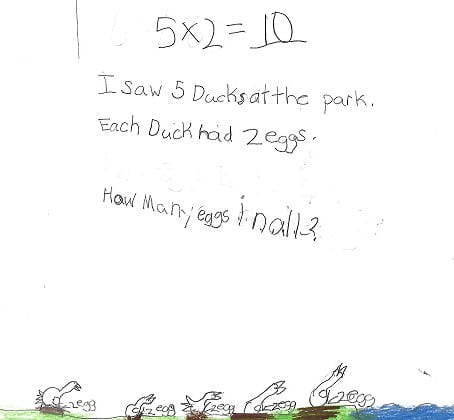
Use these lists to help students generate stories about equal groups. When students can create (and maybe illustrate) their own stories, they are much better at solving problems they must read on their own. This also helps students think carefully about what in the story constitutes a “group” and what the “groups of” represents:
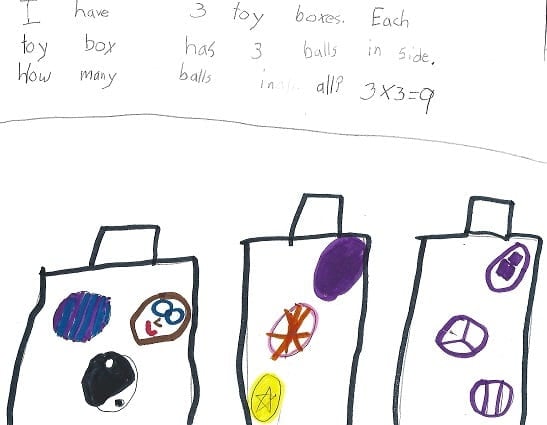
- There were 5 bowling balls on the rack. If you count all of the holes (3 per ball), how many holes are there all together? (5 x 3). The bowling balls are the groups. The holes are what is being counted in each group.
- How many numbers are shown on 3 clocks? (3 x 12). The clocks are the groups. The numbers are what is being counted in each group.
- I bought 8 pair of earrings. How many earrings are there? (8 x 2). The pairs are the groups.
- Seven ladybugs were crawling on the leaves. How many legs would there be? (7 x 6). The ladybugs are the groups. The legs are what is being counted in each group.
-
Ways to show equal groups with objects and drawings:
- Hula hoops (great to use these in PE class to emphasize multiplication)
- Embroidery hoops
- Circles of yarn
- Dishes: cup, bowl, plate, tray
- Baskets
- Shelves
Objects to use to show equal groups:
- people
- cubes
- tiles
- mini erasers
- teddy bear manipulatives
- base ten materials
- food: pinto beans, macaroni, cereal, candy
- practically anything you have an abundance of!!
Teaching concepts regarding equal groups: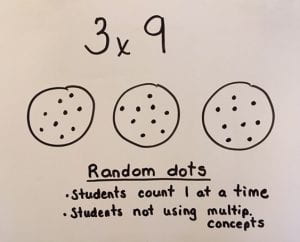
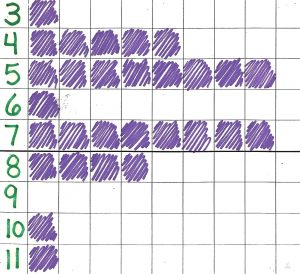
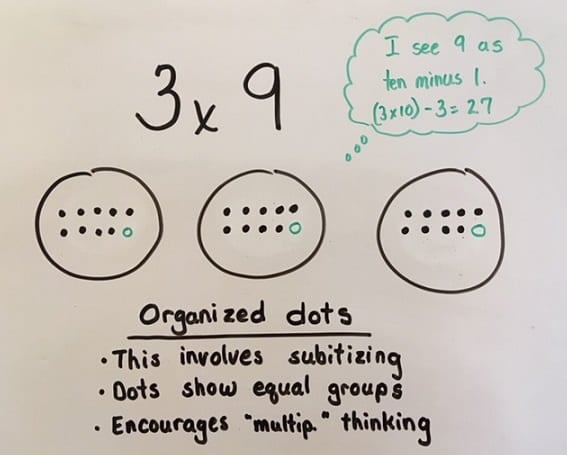
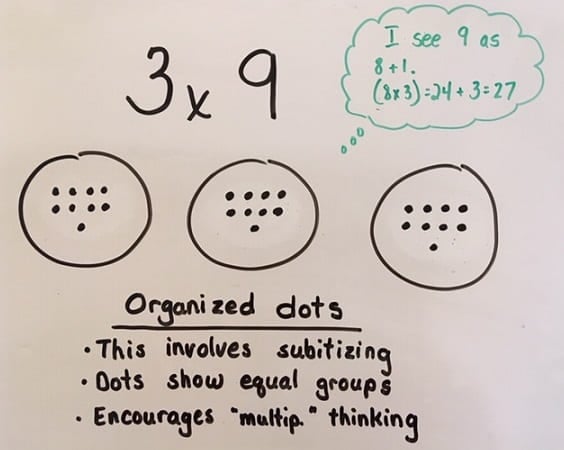
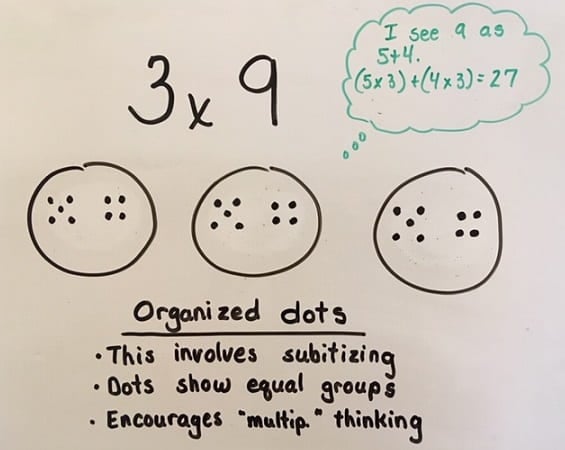
- When students are placing objects or drawing inside, do they randomly place objects? Or do they organize them to enable ease in counting? Showing students how to organize the objects in each set contributes to their knowledge of equal groups — AND it’s a big help to you as the teacher as you check on students. If the dots are randomly placed, the teacher and student must count one at a time to check. If they are organized, teacher and student can tell at a glance if the amount in each group is correct. Notice the difference below: Which ones show a student’s understanding of 9? Which ones can a student or teacher check rapidly?
-
- When counting the objects or drawings to determine the product of these equal groups, are students counting one at a time? Or are they counting in equal groups (such as by 2’s, 5’s, 3’s, etc.)? If we allow students to just count by ones, then they are not practicing multiplication . . .just counting!!

Activities to practice equal groups strategy:
- Circles and Stars: Roll a dice once. This is the number of circles to draw. Roll a dice again. This is the number of stars to draw inside. If played with a partner, students can keep track of their totals to determine a winner. Dice can be varied depending on the facts that need to be practiced. A spinner can also be used. (See picture at beginning of this post.)
- Variation of above: Use other materials (such as those listed above).
- Dice roll #1 = # of cups. Dice roll #2 = number of cubes
- Dice roll #1 = # of hoops. Dice roll #2 = # of pinto beans
- Dice roll #1 = # of plates. Dice roll #2 = # of Cheerios
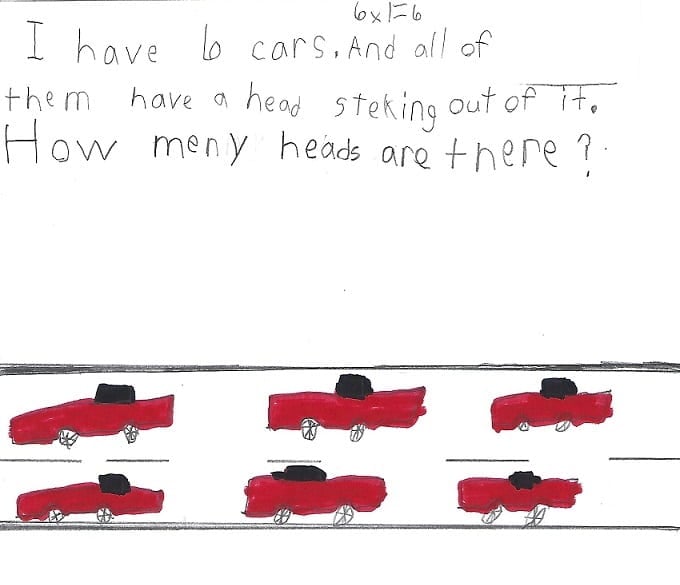
- Write and illustrate stories: Provide a problem for students to illustrate (example: 6 x 3 or 3 x 6). Then each student can decide how to form the story and illustrate. I always tell students to choose items they like to draw to make their story. Here are some examples. See some examples from former students.
- There were 6 monsters in the cave. Each monster had 3 eyeballs. How many eyeballs all together?
- Six princesses lived in the castle. They each had 3 ponies. How many ponies in all?
- There are 3 plants in the garden. They each have 6 flowers. How many flowers are in my garden?
- I made 3 pizzas. Each pizza had 6 slices. How many slices of pizza did I make?
- PE Class activities: If your PE teacher likes to help you with your learning objectives, let them know you are working on equal groups strategies. While I’ve not done this personally, I think having relay races related to this would work perfectly. For example, the teacher presents a problem and each team must use hula hoops and objects to show the problem (and the answer).
- Try these story books about multiplication:
- What Comes in 2’s, 3’s, and 4’s by Suzanne Aker: Amazon.com link
- Each Orange Had 8 Slices by Paul Giganti: Amazon.com link
- One Hundred Hungry Ants by Elinor Pinczes: Amazon.com link
- Teaching Multiplication with Children’s Books list: Click HERE
-
- Equal groups story problems to solve: Here are some story problem task cards and templates for solving multiplication and division problems using the equal groups strategy. Click to see the blog post on equal groups story problems and get my FREE set of story problem cards: HERE


Enjoy!! Many of you are now off for a well-deserved summer break. Use your summer time to catch up on my postings from this past year, or email me for more information. Also, feel free to comment on any article about your experience or additional tips.
 A great literature connection to this project is the book