by C. Elkins, OK Math and Reading Lady
In this post, I will focus on some strategies for multiplying double digit numbers (whole and decimal): using manipulatives, the area model, partial products, and the bowtie method. I highly recommend helping students learn these methods BEFORE the standard algorithm because it is highly linked to number sense and place value. With these methods, students should see the magnitude of the number and increase their understanding of estimation as well as the ability to determine the reasonableness of their answer. Then, when they are very versed with these methods, learn the standard algorithm and compare side by side to see how they all have the same information, but in different format. Students then have a choice of how to solve (or to use two strategies to check their answers). Try my “Choose 3 Ways” work mat as bell work or ticket in the door. Get it free here.
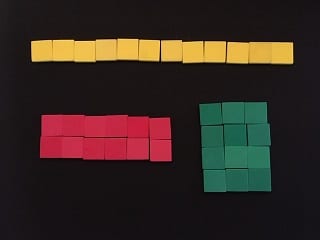
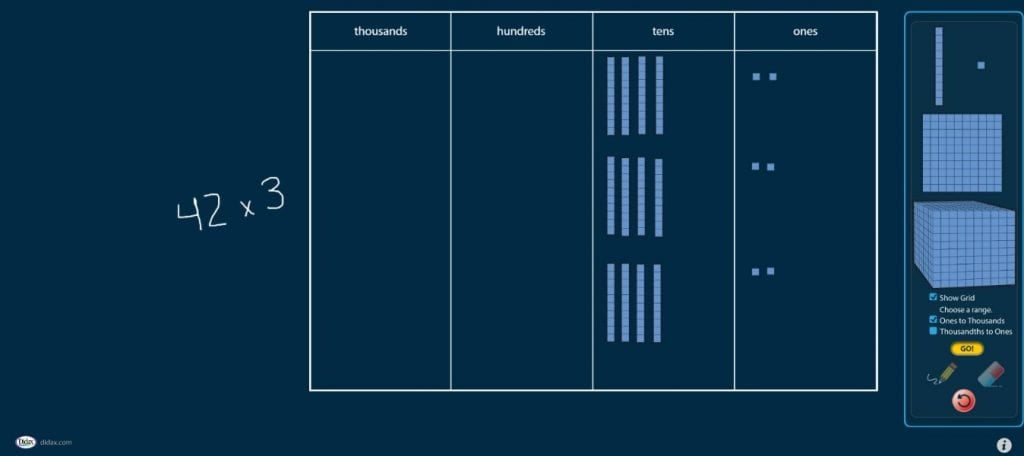
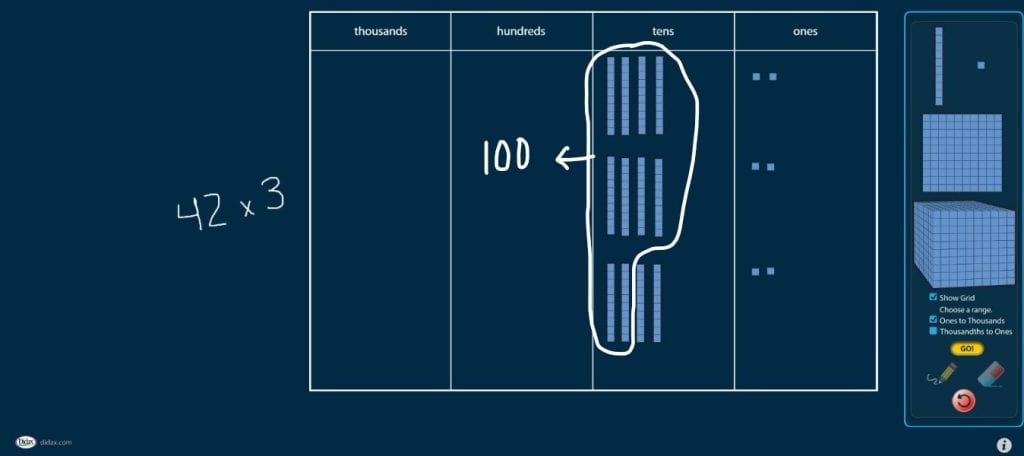
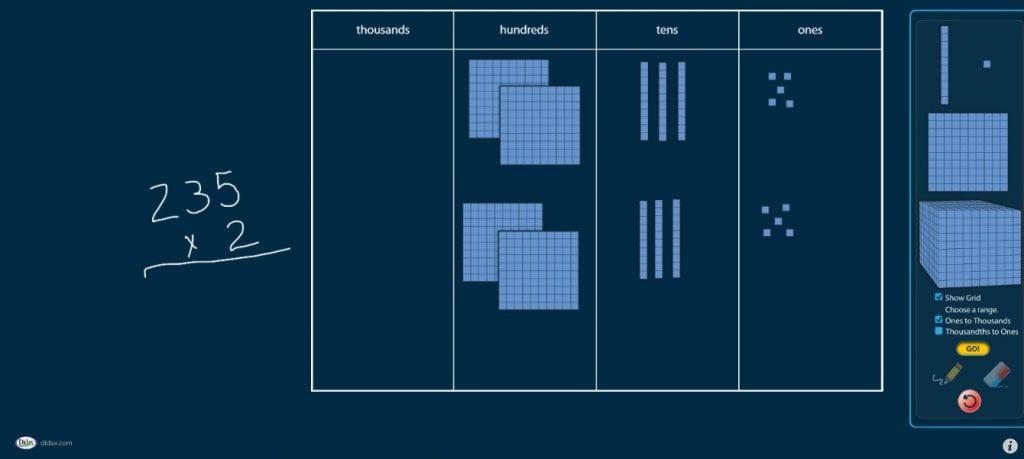
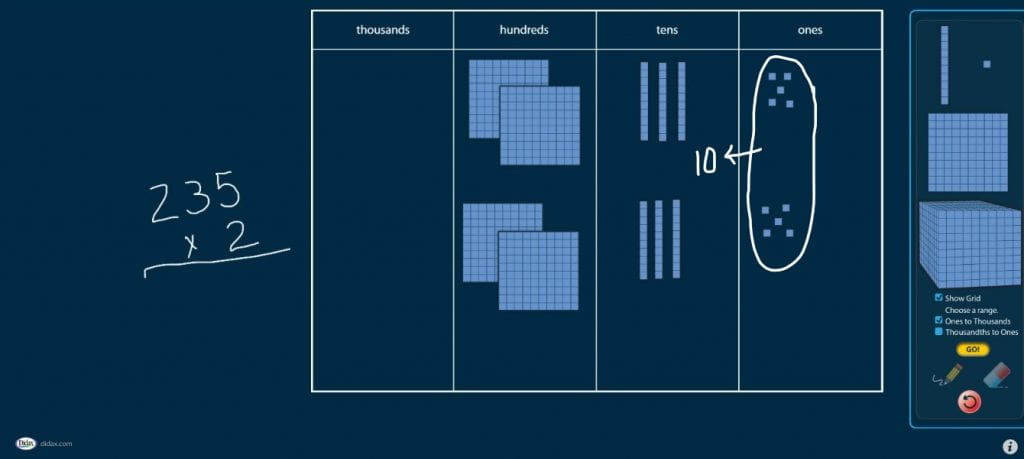
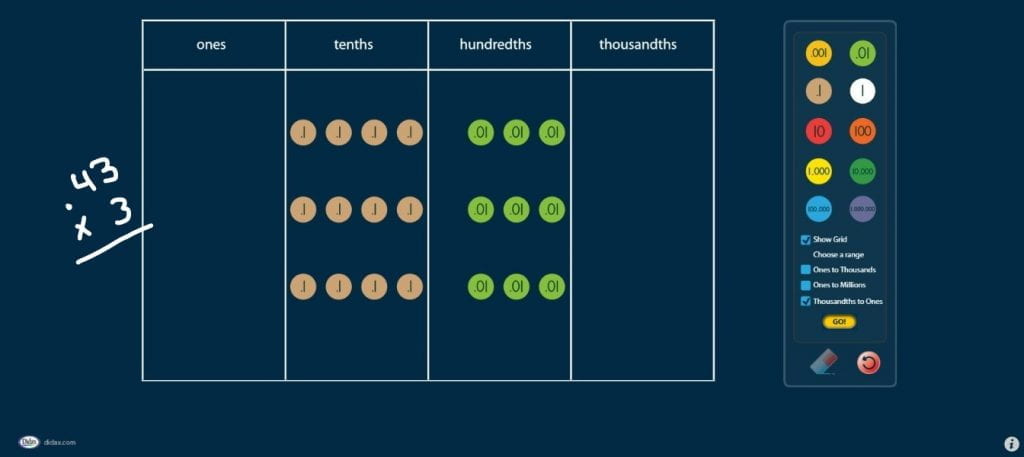
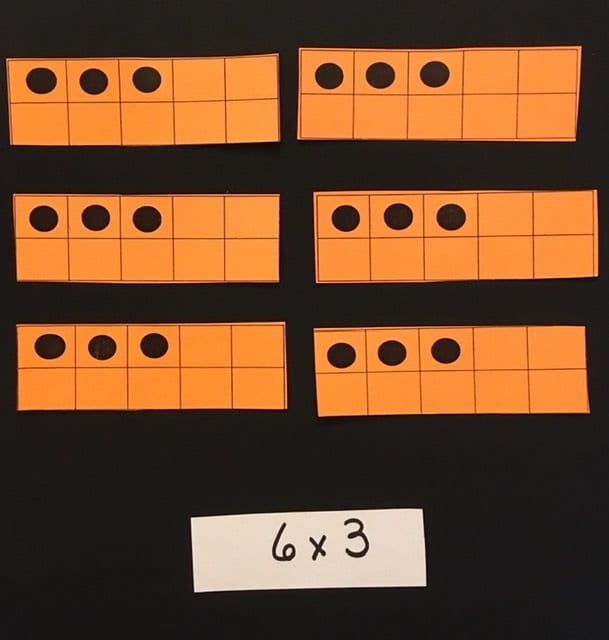
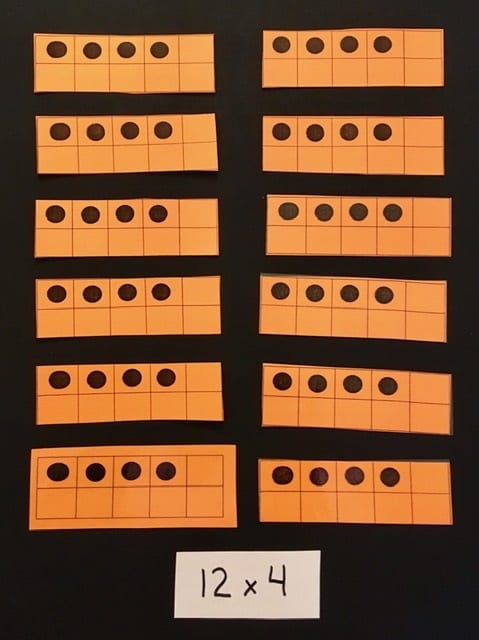
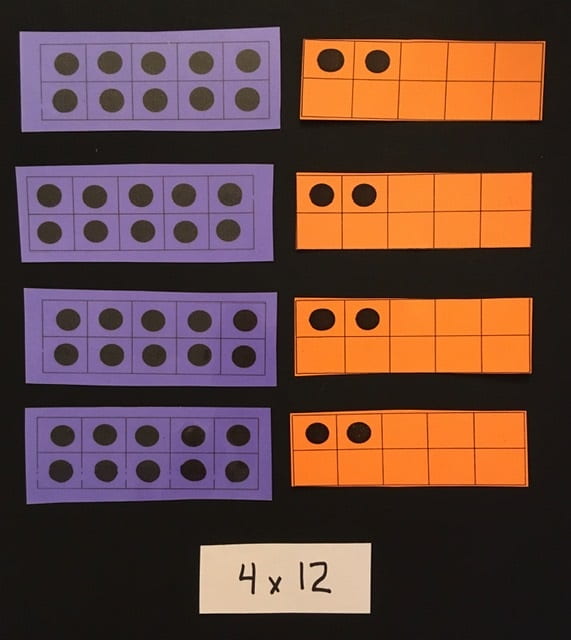
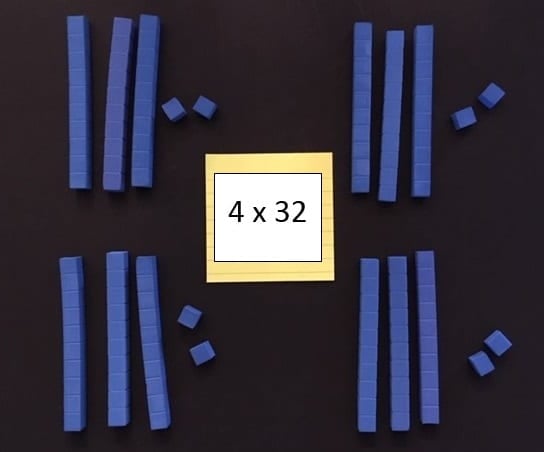
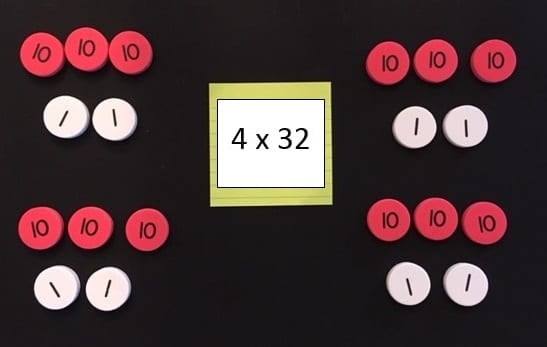
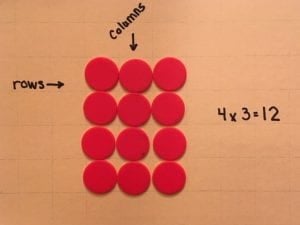
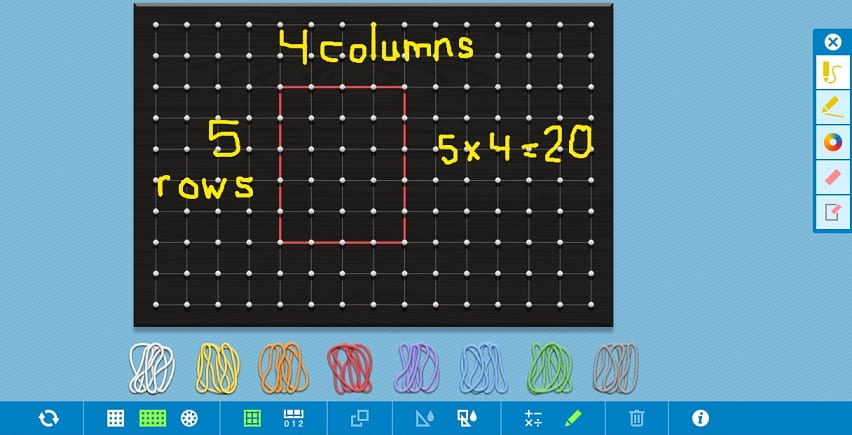
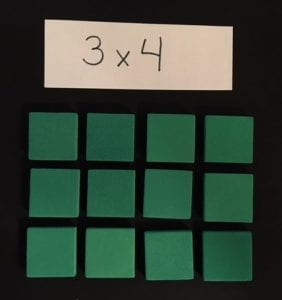
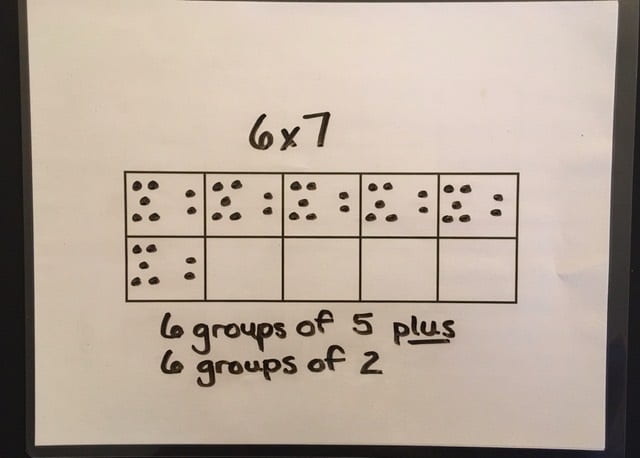
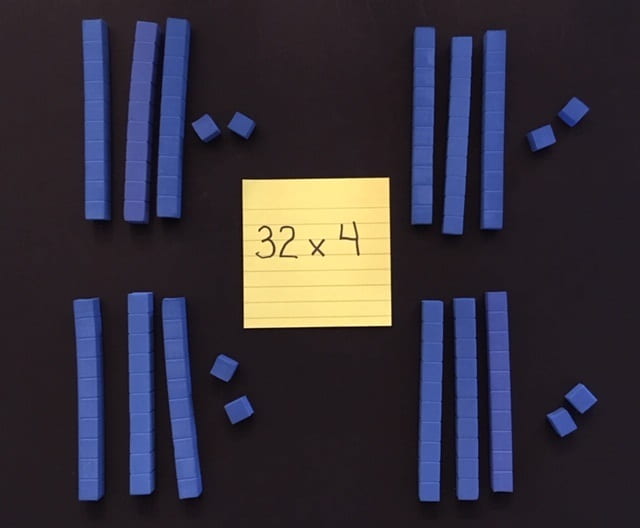
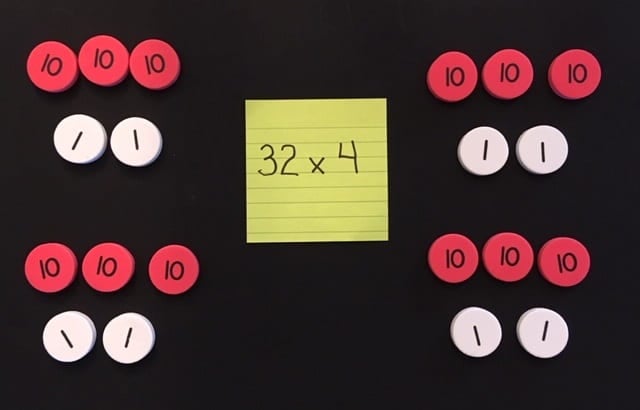
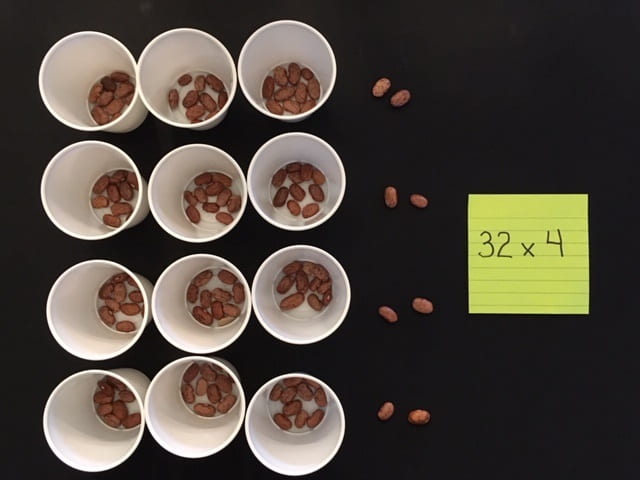
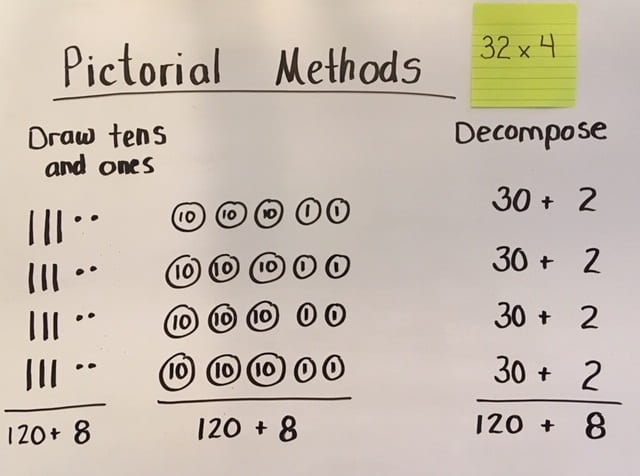
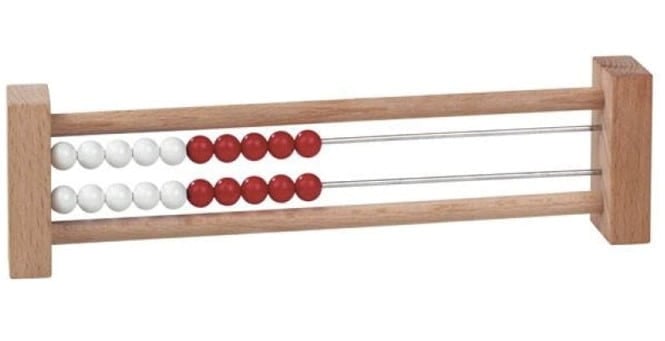
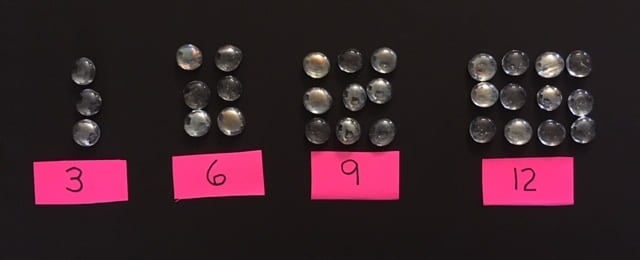
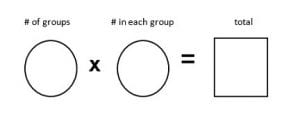
Using Manipulatives: Using base ten pieces is helpful to see that multiplication means equal groups. Students build understanding at the concrete and pictorial levels first. The following free virutal manipulatives are from didax. The good thing about these is you don’t have to worry about having enough pieces for everyone!!: https://www.didax.com/math/virtual-manipulatives.html

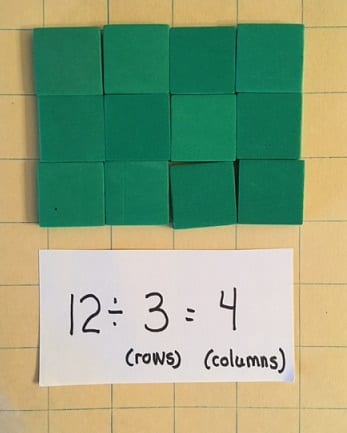
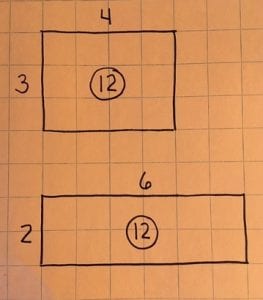
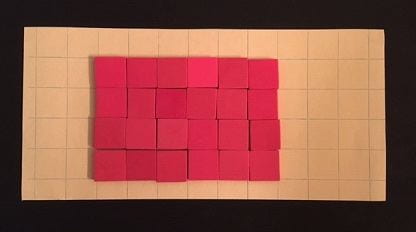
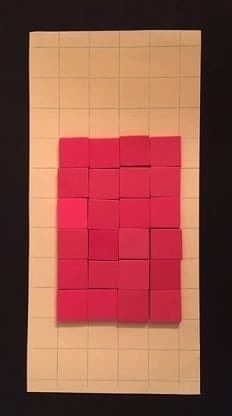
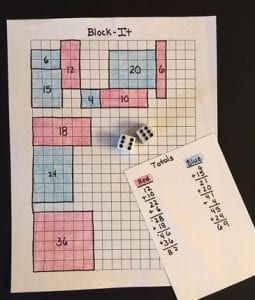
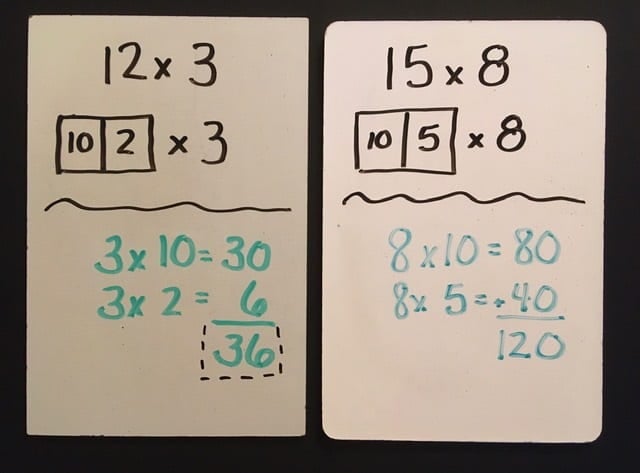
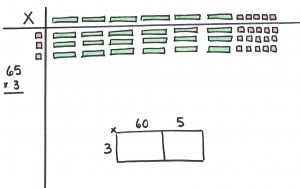
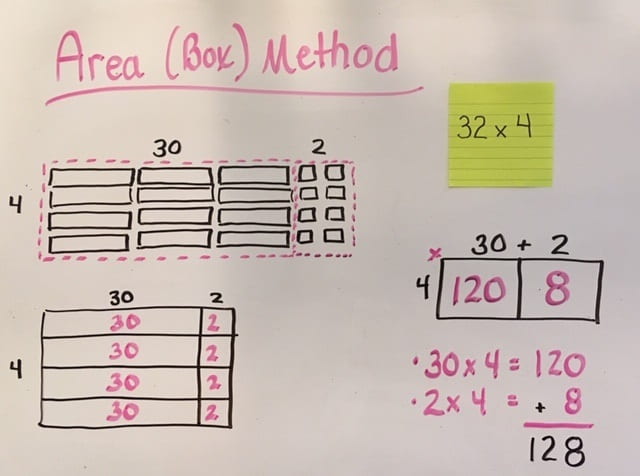
Area Model: This method can be illustrated with base ten manipulatives for a concrete experience. Using a frame for a multiplication table, show the two factors on each corner (see examples below for 60 x 5 and 12 x 13). Then fill in the inside of the frame with base ten pieces that match the size of the factors. You must end up making a complete square or rectangle. This makes it relatively easy to see and count the parts: 60 x 3 and 5 x 3 for the first problem and (10 x 10) + (3 x 10) + (2 x 10) + (2 x 3) for the second. I’ve included a larger problem (65 x 34) in case you are curious what that looks like. The first 2 could be managed by students with materials you have in class, but I doubt you want to tackle the last one with individual students – nor do you probably have that many base ten pieces. A drawing or model would be preferred in that case. The point of the visual example is then to connect to the boxed method of the area model, which I have shown in blank form in the examples . . . and with pictures below. I also included a photo from another good strategy I saw on google images (sorry, I don’t know the author) which also shows 12 x 13 using graph paper. Continue reading


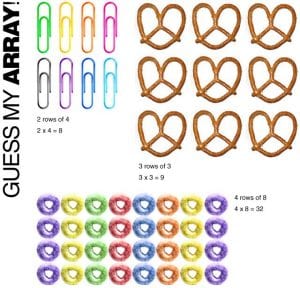
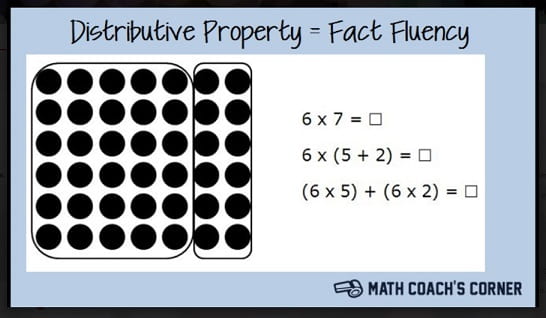 Here is a link to Math Coach’s Corner (image credited above) and a great array resource:
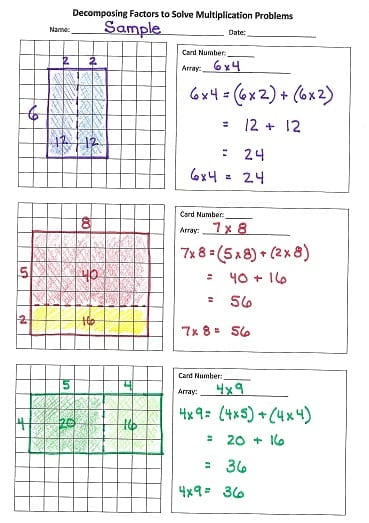
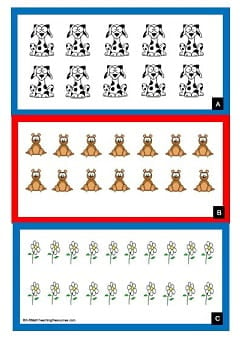


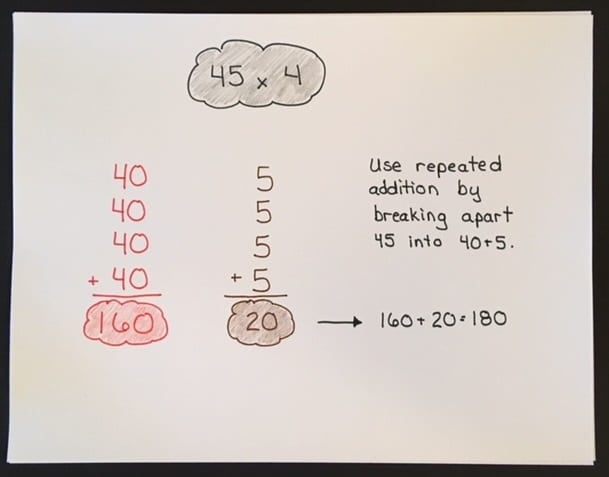
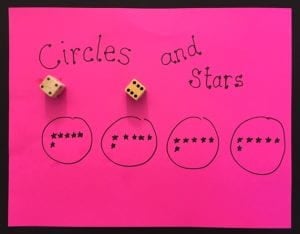
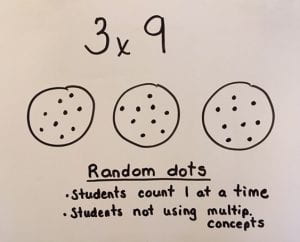
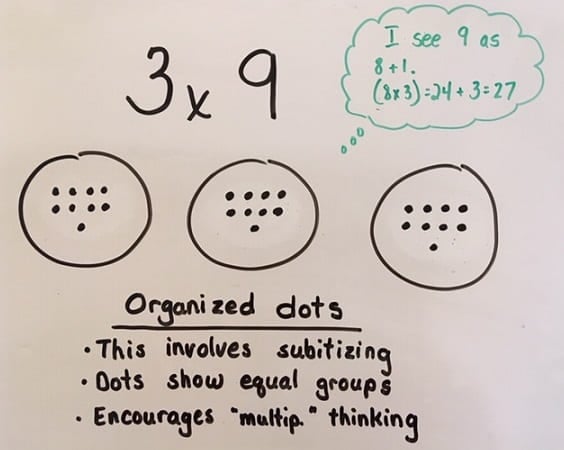
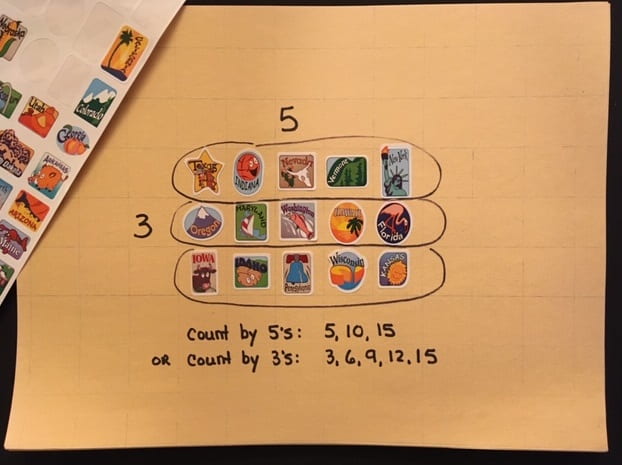
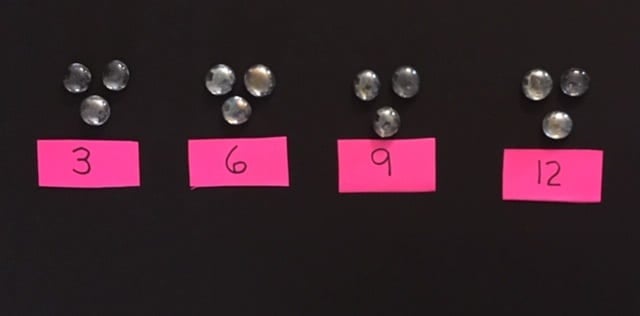
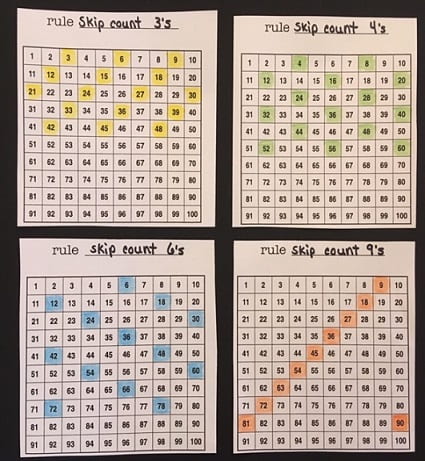
 One way is to skip count or repeatedly add the number over and over again. While this is one acceptable strategy, I see many students skip count using their fingers, often starting over numerous times. And if the child miscounts just one number in the sequence, then all of the remaining multiples/products are incorrect. Sometimes the student will write down the sequence in a horizontal row (better than using fingers in my opinion), but again – if they miss one number . . . all the rest of the numbers in their list are wrong.


 I’d love to hear if you are able to try this with your students. Let me know if it helps. I have worked with a couple of classes so far with this and they have loved it. It opened a lot of eyes!!
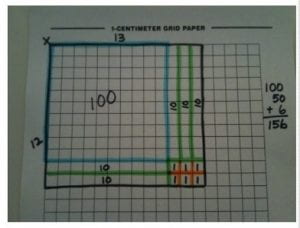


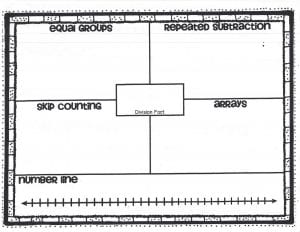
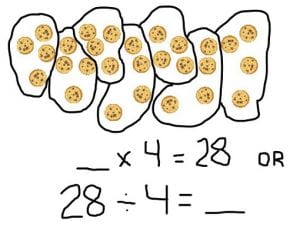
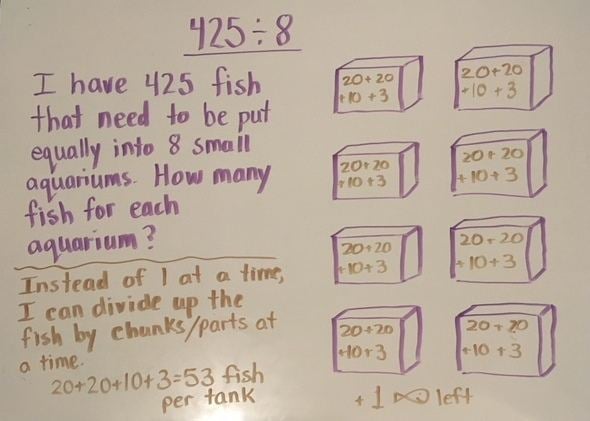
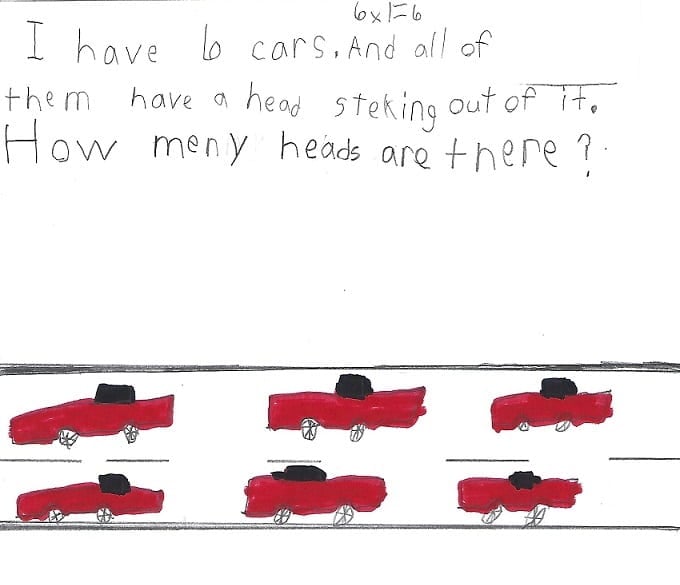
 This post will focus on helping children see division as
  It’s called
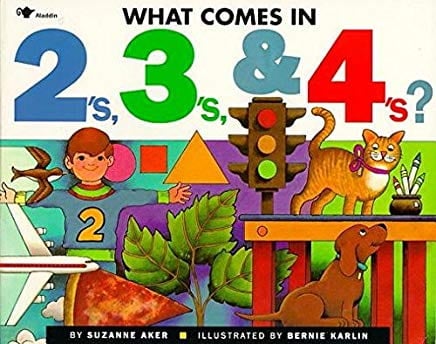
  Another great story emphasizing equal groups (as well as arrays) is the story