by C. Elkins, OK Math and Reading Lady
I’ll admit, making conversions with measurement has always been difficult for me. Probably because I don’t apply this type of math on a daily basis (as you can most likely say for most people unless they do it regularly for their jobs). Add the fact that we teach the metric system, but don’t really use it. In researching a good way to teach measurement conversions, especially for 5th grade and up, I came upon a strategy which I will share below. If you try it, let me know how it works in your class. I’m also going to share the visual for standard liquid measures as I believe it really helps think about how many cups in a quart, pints in a gallon, etc.
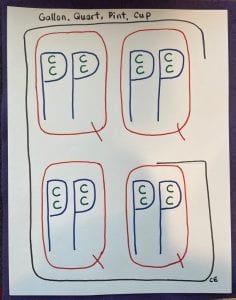
Here’s the liquid measure guide
G=gallon, Q= quart, P=pint, C=cup. An interesting tidbit regarding the words: cup is the smallest unit and it has just 3 letters. Pint is next in size with 4 letters. Quart has 5 letters. Gallon has 6 letters. So just thinking about the size of the word might be enough for some students to relate to these units.
Steps for students to make this:
- Have 4 different markers ready, one for each unit. I recommend students draw with pencil first, then trace with marker because they most likely will have to try more than once to make the shape a good size.
- Make a giant capital G in one color. Try to make it take up almost the whole page with a vertical orientation. I tell them to square it off (like shown in the picture).
- Then draw 4 Q’s inside as shown (different color). I kind of square them off as well to make room for the other parts. 4 quarts = 1 gallon.
- Draw 2 P’s inside each Q (a third color). 2 pints = 1 quart
- Draw 2 C’s inside each P (a fourth color). 2 cups = 1 pint
- Now practice making equalities with various questions: How many cups in a quart? How many cups in a gallon? How many pints in 2 quarts, etc.
Other measurement conversions (metric, standard, length, liquid, etc.)
This method was described on the NCTM forum by a high school teacher, which I saved a few years ago. I hadn’t thought about it until recently when I needed to work with a 5th grader. I know there are rules out there like this: Going from a smaller unit to a larger unit = divide; Going from a larger unit to a smaller unit = multiply. But it’s always helpful to have 2 strategies. If you can’t remember whether to multiply or divide, then this strategy will help do it for you.
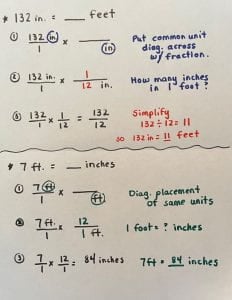
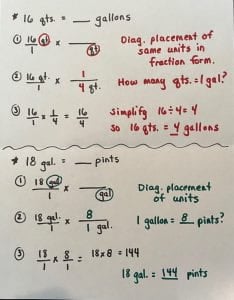
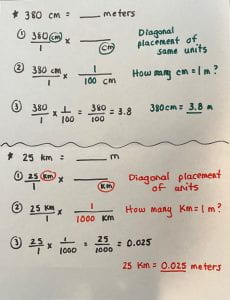
I think the illustrations speak for themselves, but the keys are as follows:
- In step 1, rewrite the problem in fraction form. Place the labels of the units diagonally across from each other. This is so they will “cancel out”. Place an “x” sign. As you will notice in step 3, the way the fraction is written will determine whether you multiply or divide (which relates to the above . . . smaller to larger unit = divide.; larger to smaller unit = multiply).
- In step 2, determine how many ___ in 1 _____. If needed, there are many charts available on TPT or Pinterest to help reference the correct conversion regarding customary or metric systems.
- In step 3, complete the equation.
Have a terrific week! Happy measuring!


 I appreciate all of my faithful followers the past 5 years! Thank you for viewing and passing this along to other teachers or parents. I hope you all have a restful holiday break!!


 WODB book at Amazon
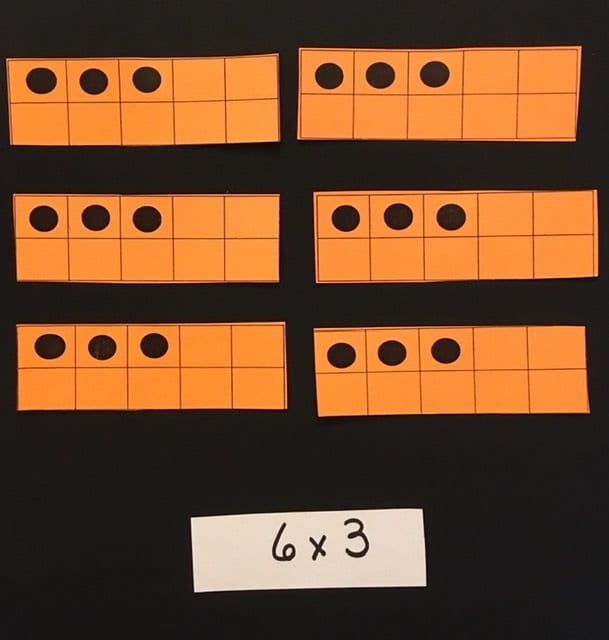


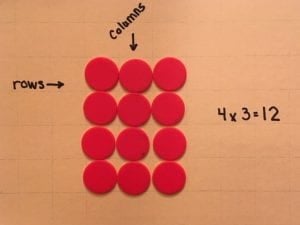
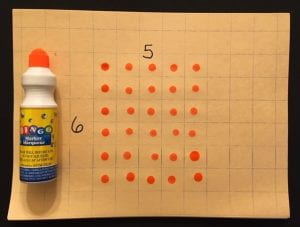
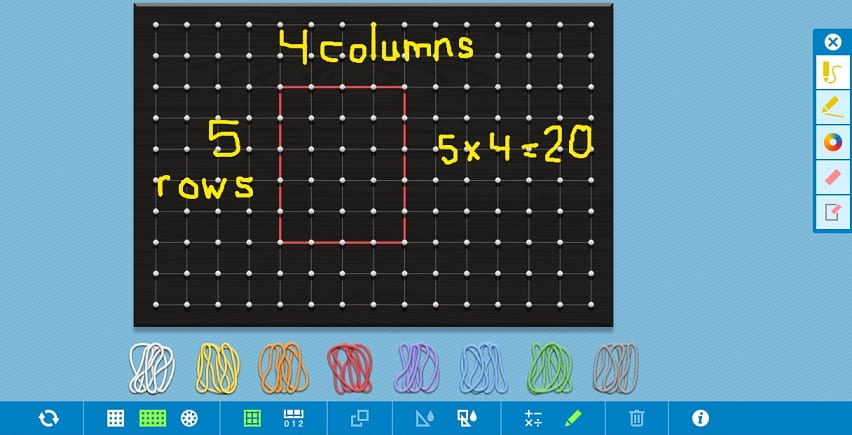
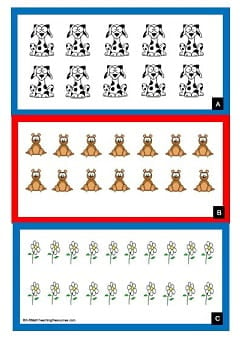
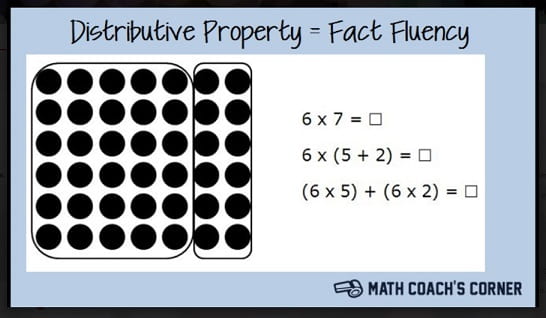 Here is a link to Math Coach’s Corner (image credited above) and a great array resource:
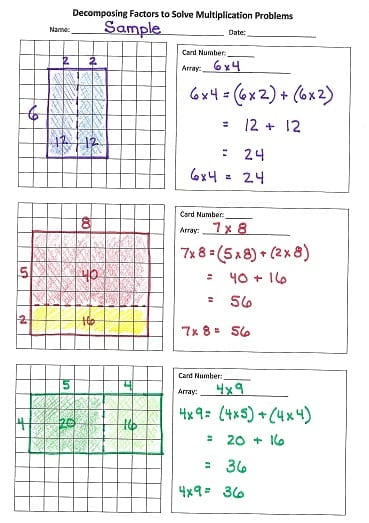
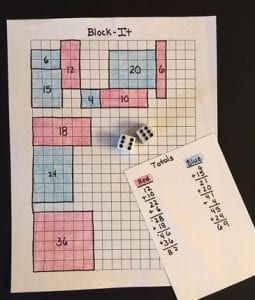


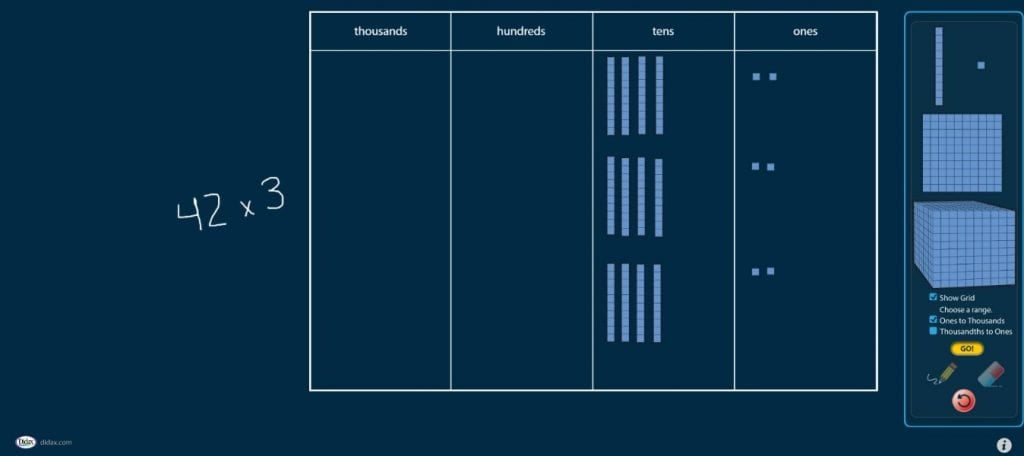
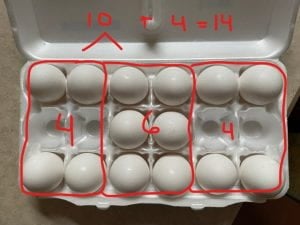
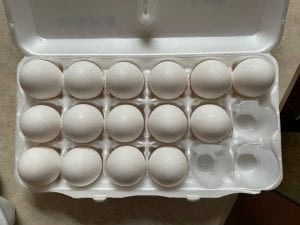
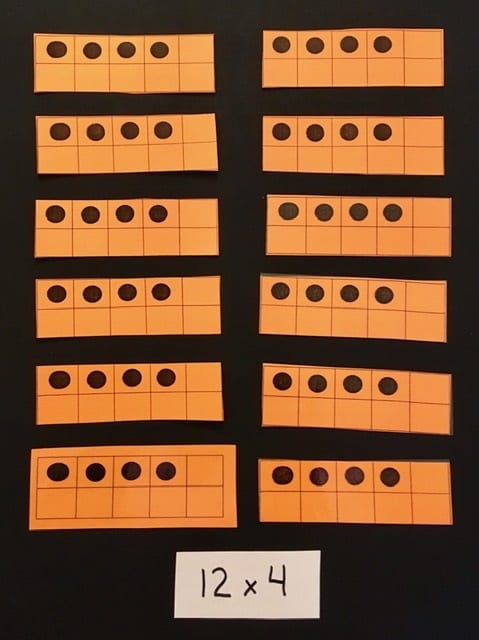
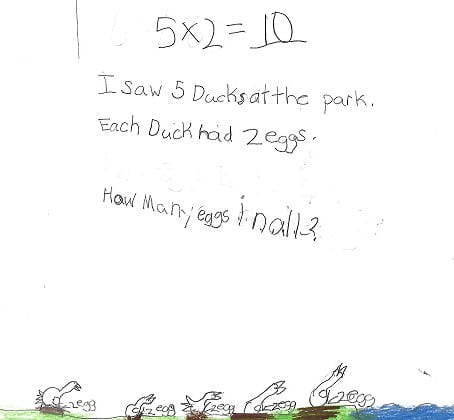
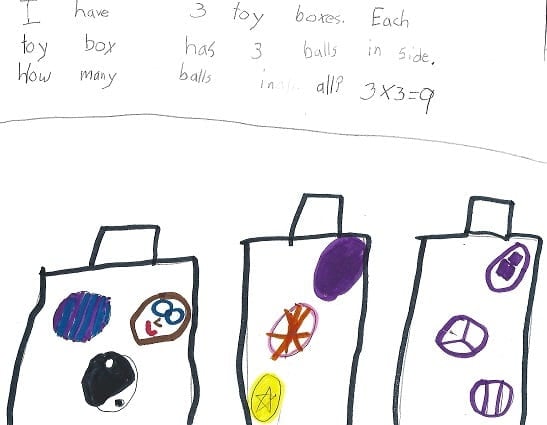
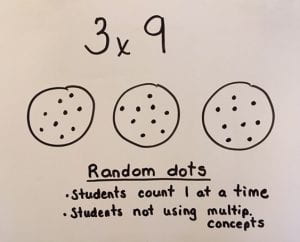
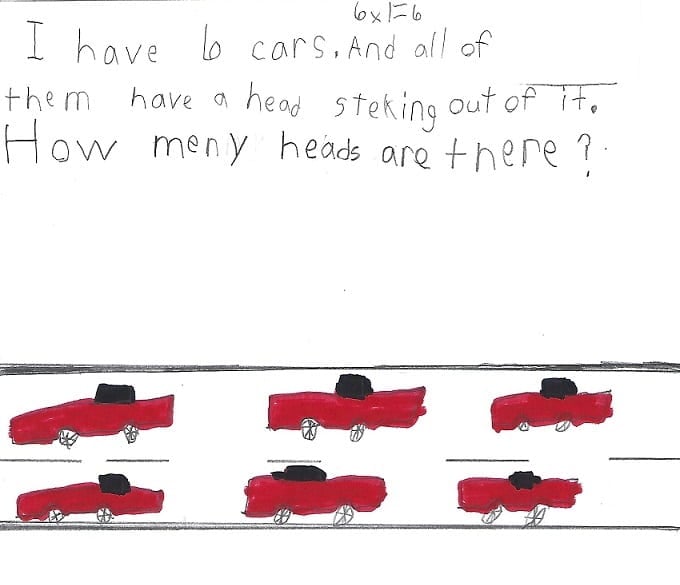
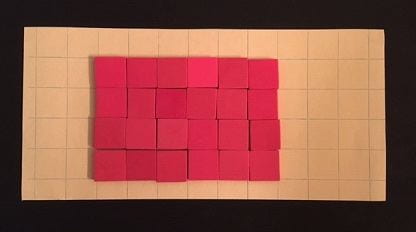
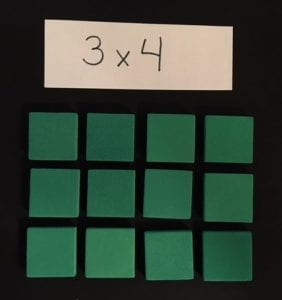 One way is to skip count or repeatedly add the number over and over again. While this is one acceptable strategy, I see many students skip count using their fingers, often starting over numerous times. And if the child miscounts just one number in the sequence, then all of the remaining multiples/products are incorrect. Sometimes the student will write down the sequence in a horizontal row (better than using fingers in my opinion), but again – if they miss one number . . . all the rest of the numbers in their list are wrong.


 It promotes ways to create a classroom community by having a daily “Morning Meeting.”
 #2 (handshake, pinky shake, salute, wave, high five, fist bump), and says, “Good Morning, ________ (name).” Student #2 returns the greeting (also with eye contact), “Good morning, ________.” Then Student #2 greets Student #3, and it goes all the way around the circle. I usually only introduce one type of hand gesture at a time. After we learn all of them, then I often give them a choice. I have to teach eye contact, sincerity, how to give a proper handshake, and what to do if you don’t know/remember their name.

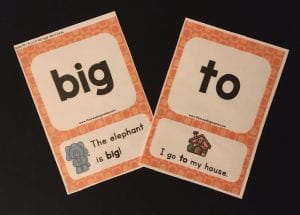

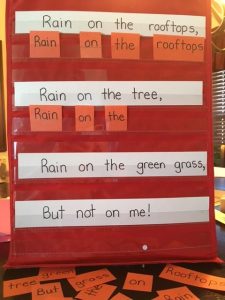
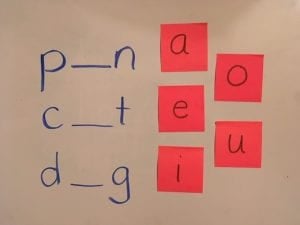
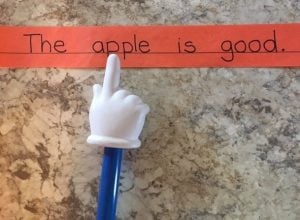 When tracking, does their finger stay under a 2-syllable word until it is finished, or are they moving from word-to-word based on the syllable sounds they hear? In the sentence shown, does a student move their finger to the next word after saying ap- or do they stay on the whole word apple before moving on? Students in the early Letter-Name Stage (ages 4-6) start to understand this concept. It becomes more fully developed mid to later stages of Letter Names (ages 5-8).